How to film and edit dance videos like a pro
These days, filming and editing videos is an essential skill for every dancer on social media. But where do you start, and how do you do it right? In this article, you will find a clear roadmap to help you learn and practice the key skills, from camera angles and lighting to editing techniques. Being a strong dancer is important, but the way you present yourself on video can be what truly sets you apart from the competition.
Preparing for the shoot
Choosing the right location
As a dancer, you want the focus to stay on your performance, so it’s crucial that the background isn’t distracting. The angle you film from and what’s behind you both play a big role. Ensure you have enough space to fit all your movements within the frame. Choose a clean, uncluttered background, something like a solid-colored wall works well. Just be sure your outfit contrasts with the background so you stand out. Avoid overly bright lighting and reflective surfaces, as they can lower video quality. Natural light is ideal, but balance is key. Too much light can be just as problematic as too little.
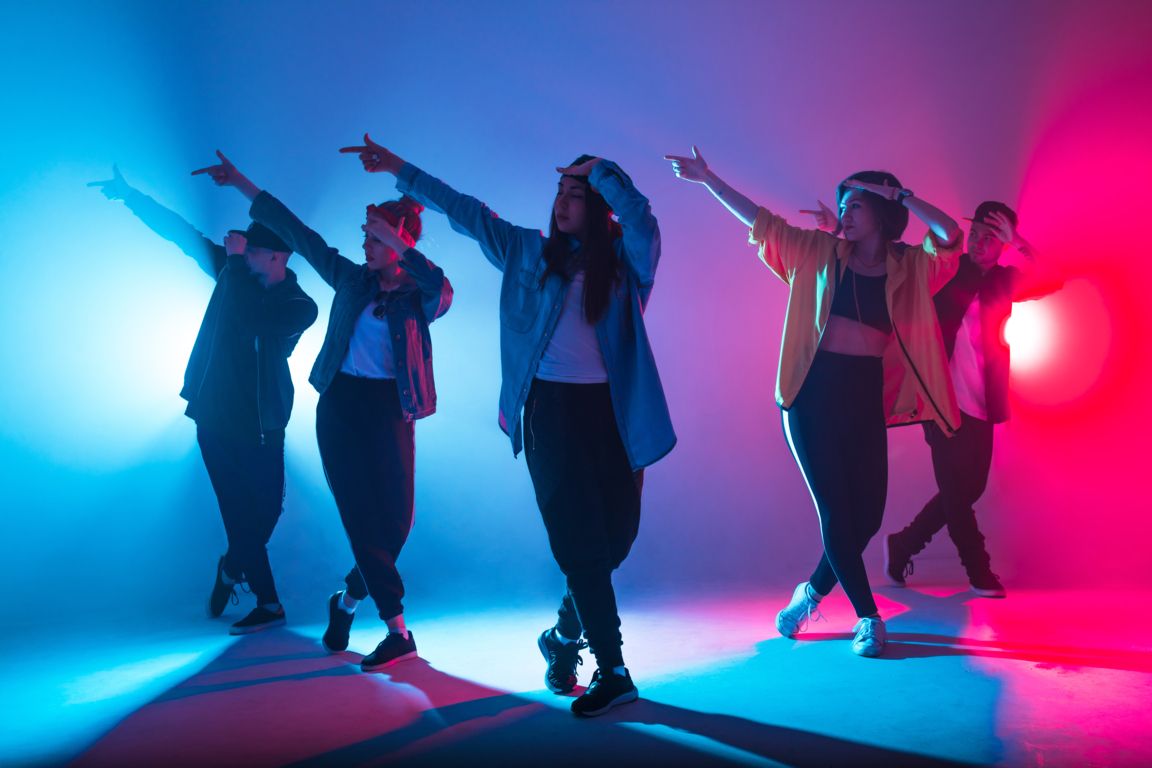
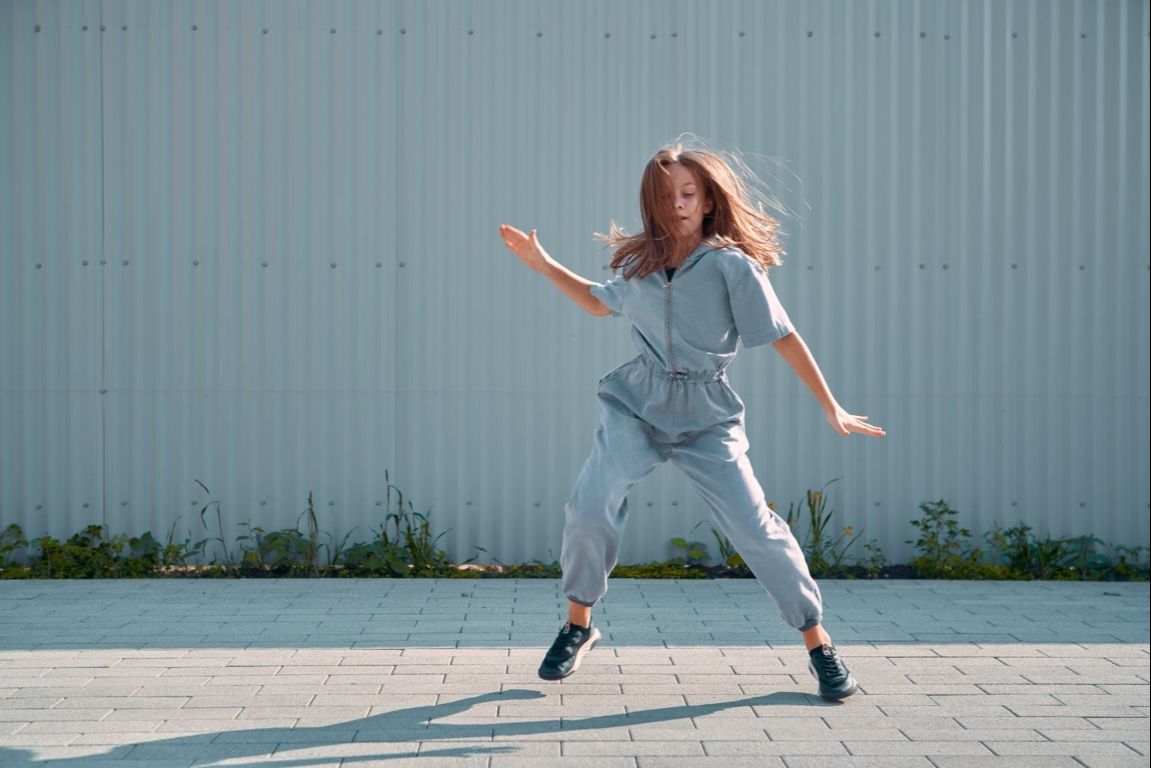
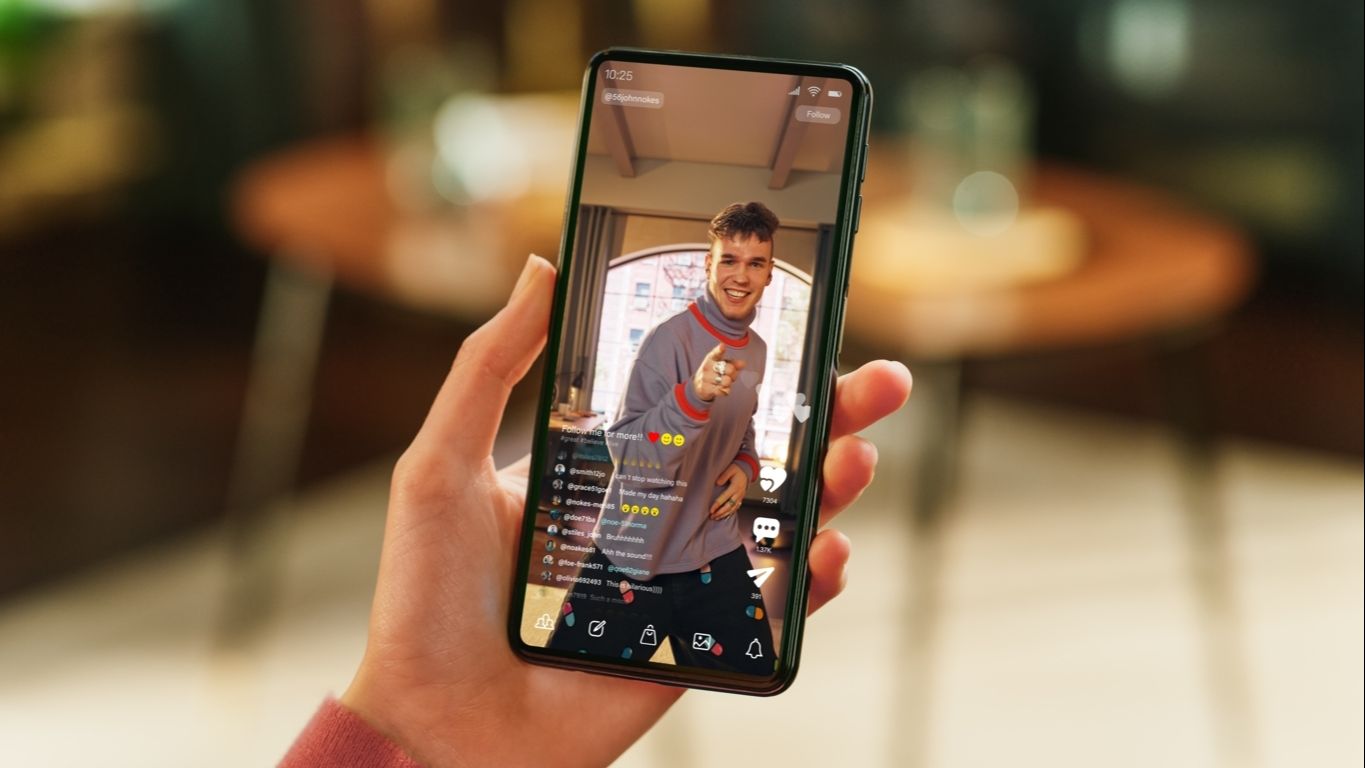
Example of a dance video with a neat background:

Planning your routine
Before choosing a location, it's essential to clearly define what you’re going to film. If you are filming a choreography, finish and rehearse it first. This allows you to determine how much space you will need and ensures that all movements fit within the camera frame. Practice thoroughly so you can nail the choreography in just a few takes on filming day. If you are filming a freestyle, consider the dance style and movement size when selecting a location. Make sure the background complements both the dancer’s outfit and the dance style for a nice visual effect.
Camera setup and angles
Choosing the right camera
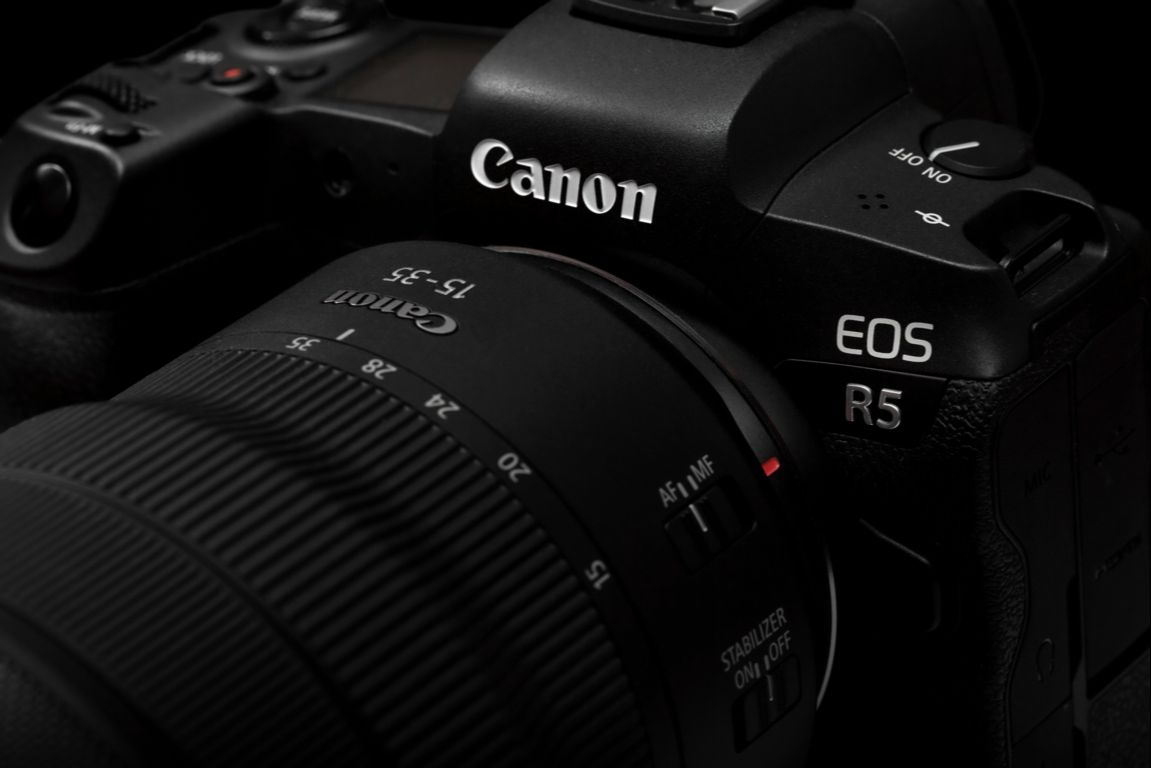
Make sure to use a camera with good quality. Ideally, it should shoot in at least 1080p resolution. A modern smartphone, like a recent iPhone or Samsung model, usually works well. For even better results, consider investing in a professional video camera. We highly recommend the Canon EOS R5 C; it's user-friendly and delivers excellent video quality.
Camera positioning and angles
There are countless ways to film your dance video. Below are a few techniques to inspire you:
Eye-level shots: This standard technique involves placing the camera on a tripod or stable surface at the dancer’s eye level. It captures the full body and is simple yet effective.
Low or high angles: Try experimenting with angles. Filming from low to high can make certain moves look more dramatic, while high angles can provide a unique overhead view. Explore different positions to see what best highlights the movement.
Wide shots: Positioning the camera farther from the dancer places them smaller in the frame and captures more of the surrounding environment. This is great for full-body routines and big movements like spins or footwork.
Close-up shots: Getting in close allows you to focus on details like hand movements, facial expressions, or footwork. It’s perfect for emphasizing precision and emotion.
Tracking shots: Just like the dancer, the camera can follow choreography too. Moving the camera in sync with the dancer creates dynamic and engaging visuals. For this, you will need a stabilizer and someone to operate the camera smoothly.
Framing your shots
Make sure every movement is clearly visible within the frame. If you want to improve how your movement looks before you hit record, read our article 'Training With a Mirror or Without a Mirror?' for a simple guide on when a mirror helps, and when it’s better to train without one. While close-ups on specific details can be effective, it is generally best to keep the dancer’s full body in view. Avoid cutting off body parts, as dancers often find it frustrating to receive footage that doesn’t fully capture their performance.
Stabilizing the camera
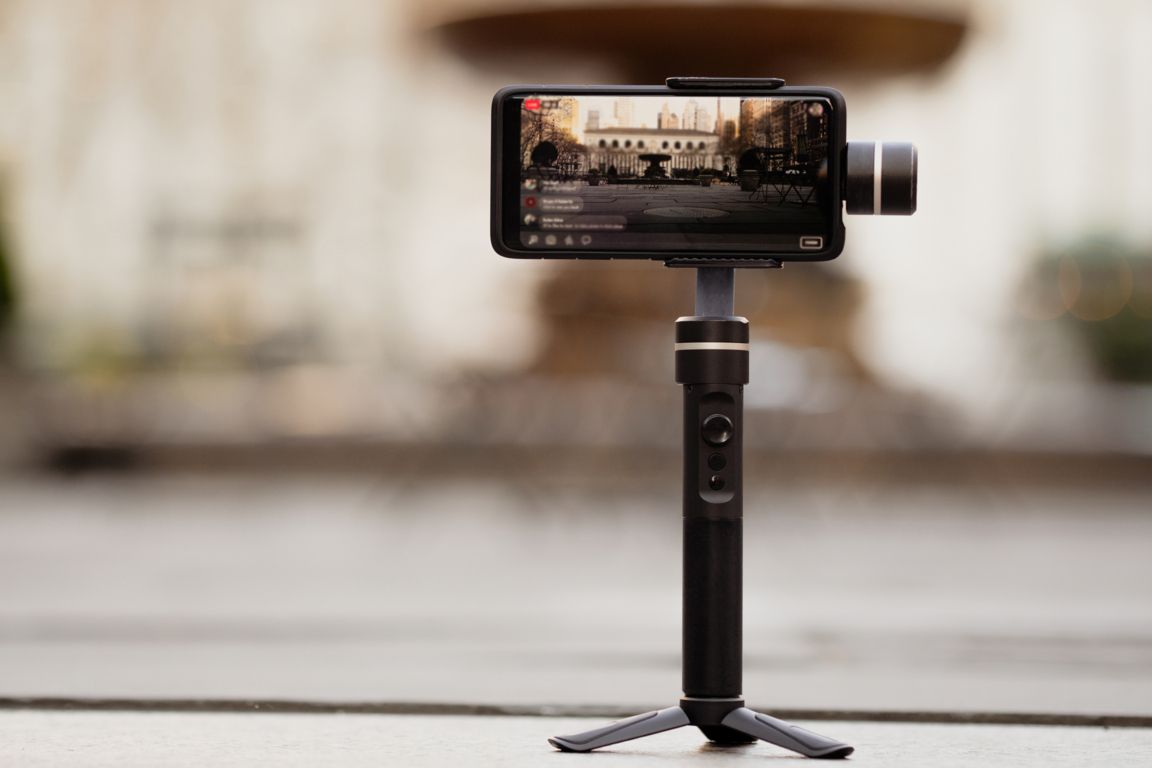
Handheld shooting is rarely as steady as using proper equipment. To keep your footage smooth and professional, use a tripod or stabilizer. If you are filming with a DSLR or smartphone, we recommend using a gimbal. These tools help eliminate shakiness and give your video a polished, cinematic look.
Lighting
Lighting setup
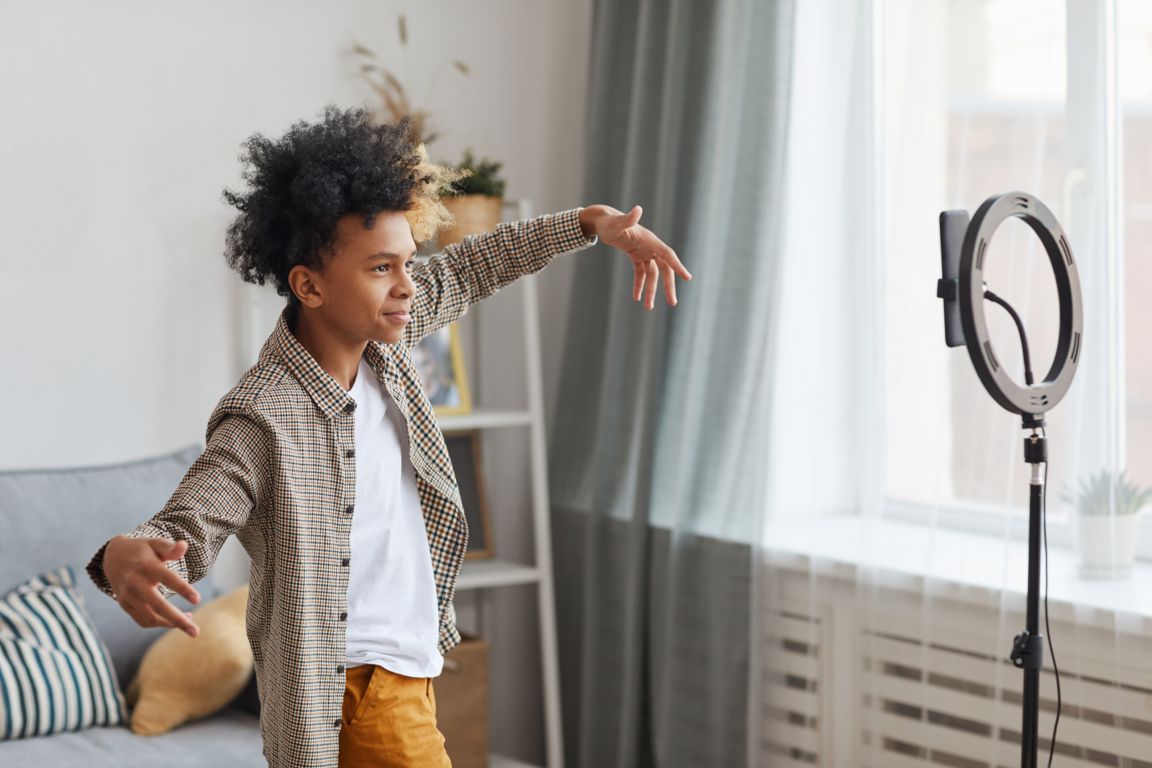
Good lighting is essential for high-quality video. When filming indoors, try to position yourself near large windows to make the most of natural light. Ideally, you should always film in natural light, but that's not always possible, especially if it is too dark outside or the indoor space lacks windows. In those cases, use artificial lighting to supplement. We recommend softbox lights or ring lights, as they provide flattering, even illumination. Position the lights at a 45-degree angle from the dancer’s face to avoid harsh shadows and create a more professional look.
Lighting position
Once your basic setup is ready, start adjusting the placement of the lights and camera. This often requires a few tweaks to find the ideal positioning. Generally, lights should be placed slightly above the dancer’s height to illuminate the face evenly and minimize shadows. After positioning your main lights, check the frame for any remaining dark spots. If needed, add extra lights to fill in those areas and ensure consistent lighting throughout the shot.
Adjusting white balance
Setting the correct white balance is essential when filming. On most cameras, you can adjust this in the settings to match the color temperature of your lighting. When the white balance is properly set, whites appear truly white on screen, ensuring that all other colors are also accurately represented. Color temperature refers to how warm or cool the light source appears, and it significantly affects the overall look of your video. Adjusting the white balance helps neutralize these tones, so your footage looks natural and well-balanced.
Recording techniques
Keep it steady
When filming, every camera movement should be intentional. A well-executed tracking shot can add dynamic value to your video, but unplanned or shaky movements can be distracting and reduce overall quality. Always ensure your footage stays in focus. This is key to maintaining a clear and professional look. Sudden movements, especially during tracking shots, can cause the camera to lose focus. Be mindful of this and take the time to check that the entire video remains sharp and in focus.
Multiple takes
Filming full choreography with tracking shots can be challenging and is rarely perfect in a single take. To stay organized and make the process smoother, here are a few helpful tips:
- Break the choreography into short segments. Film each segment separately so you only need to perfect one part at a time before moving on.
- Record multiple takes of each segment. This gives you more options to choose from later. We recommend capturing at least three strong takes per segment to ensure you have usable footage.
Audio considerations
If you are using music in your dance video, you have two main options for handling the audio:
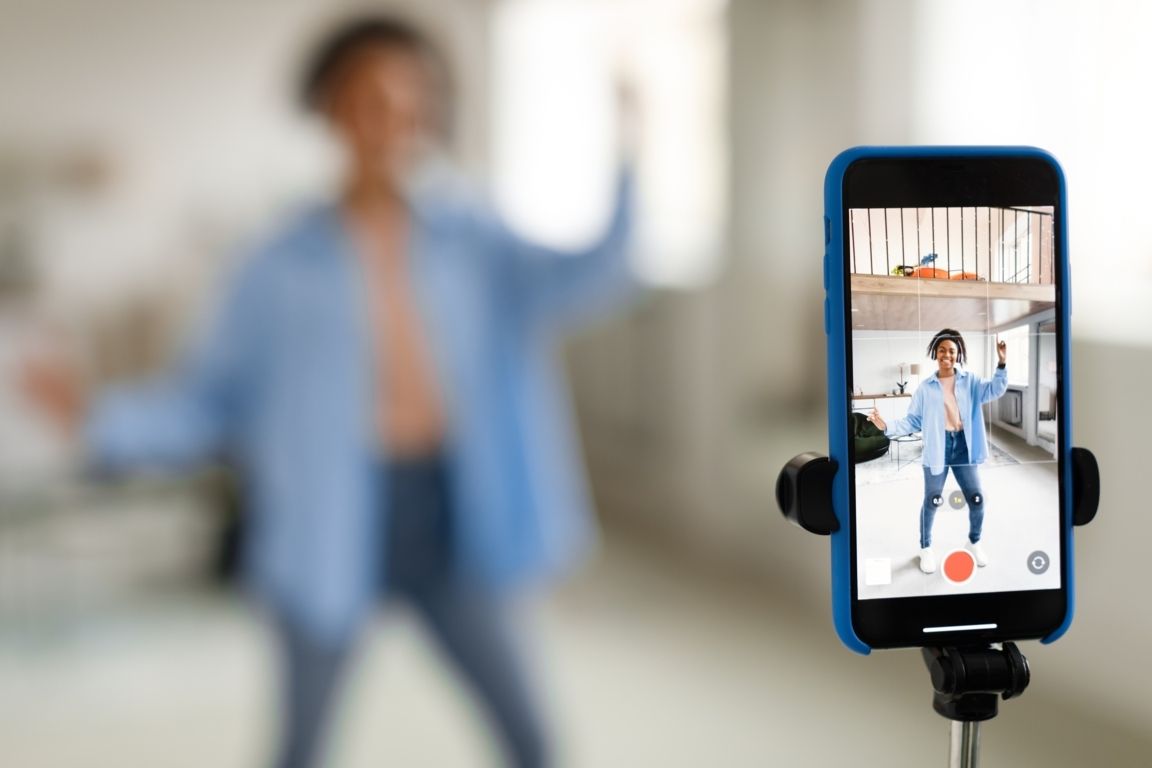
Option 1: record the music live while filming. If you choose this, make sure you are using a microphone with good sound quality. You may need to invest in an external microphone to capture the audio clearly.
Option 2: add the music during the editing process. This method often results in higher audio quality. Simply download the track in high quality, then sync it with your video during editing. Be sure to mute the original audio from the footage to avoid overlap.
Important: some songs may be restricted due to copyright rules on social media platforms. Always check that the music you use is cleared for the platform you plan to post on.
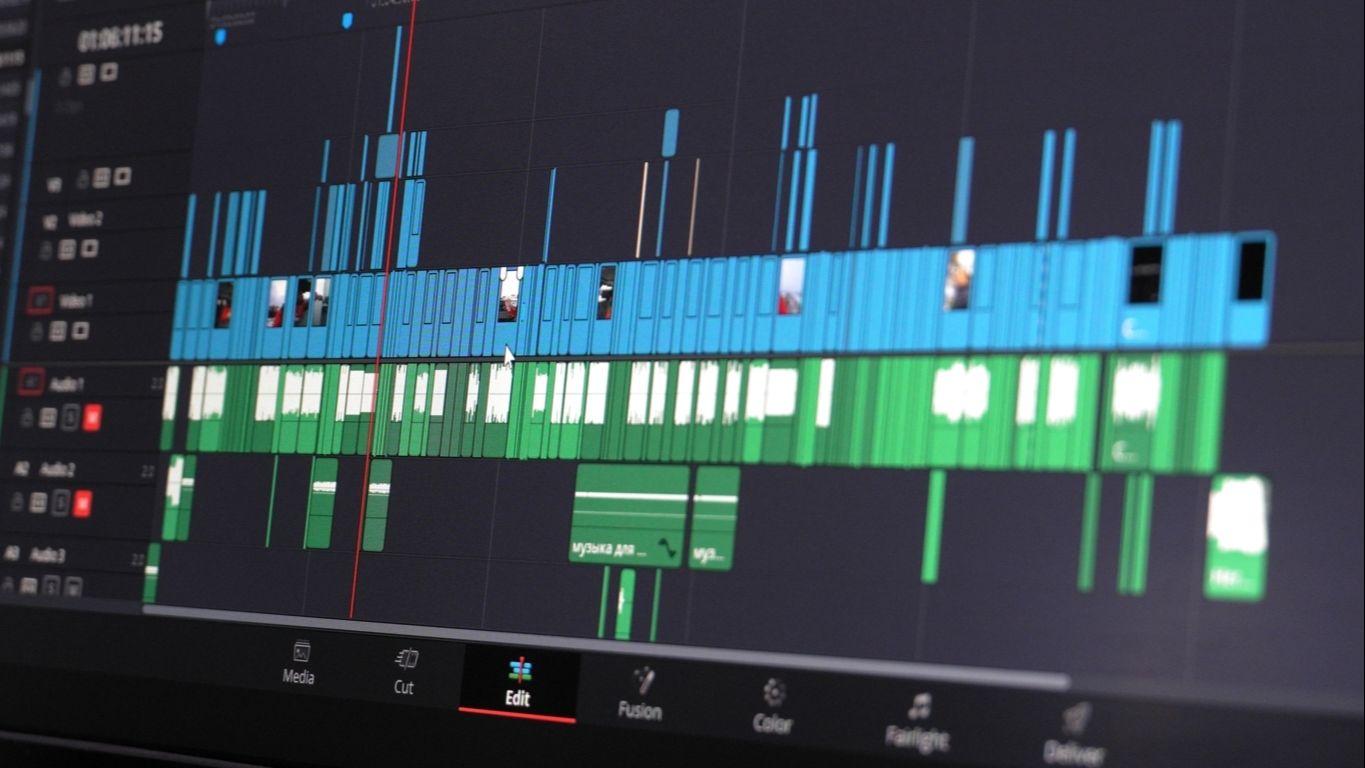
Editing your dance videos
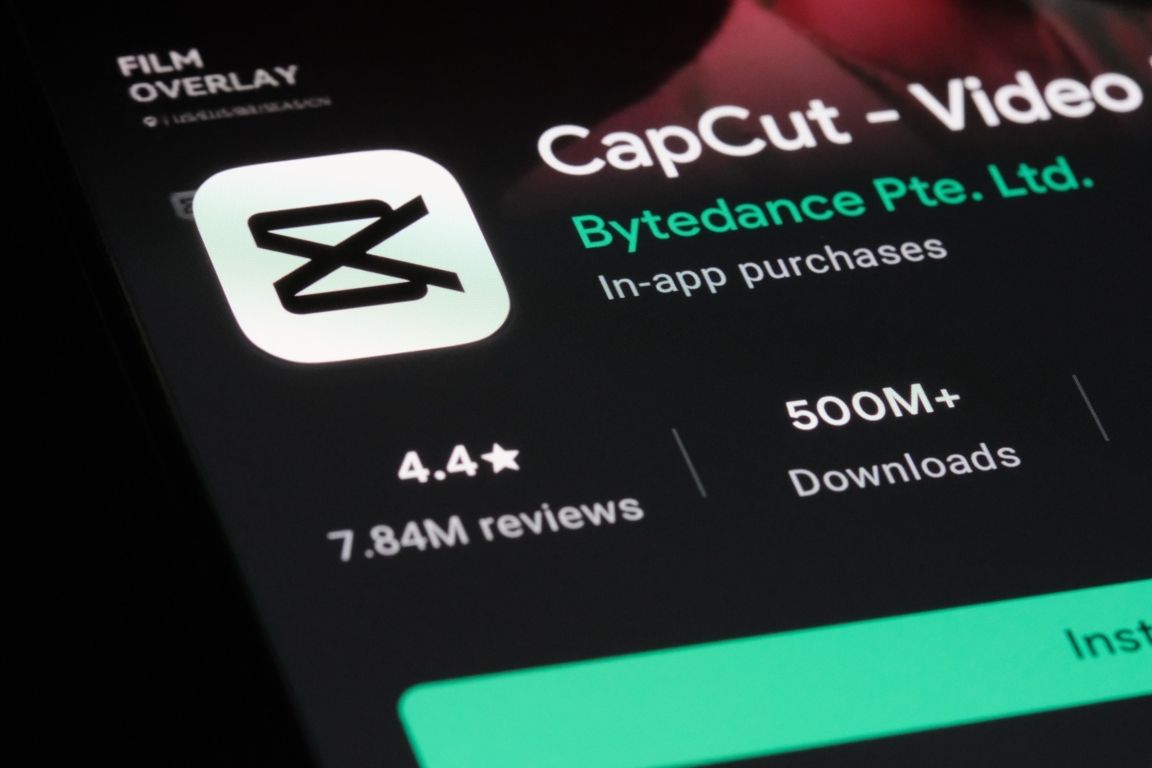
Choosing the right editing software
Now that you have gathered all your footage, the most challenging part might be editing. If you're filming with a phone and have little or no editing experience, we recommend starting with simple apps like Capcut, InShot or iMovie. These are beginner-friendly and easy to learn.
If you have more experience or are working with high-quality camera footage, consider using advanced software like Adobe Premiere Pro or Final Cut Pro. These programs offer powerful features but do have a learning curve. If possible, ask friends or family for help, or consider taking a class. Many classes are available, both in person and online.
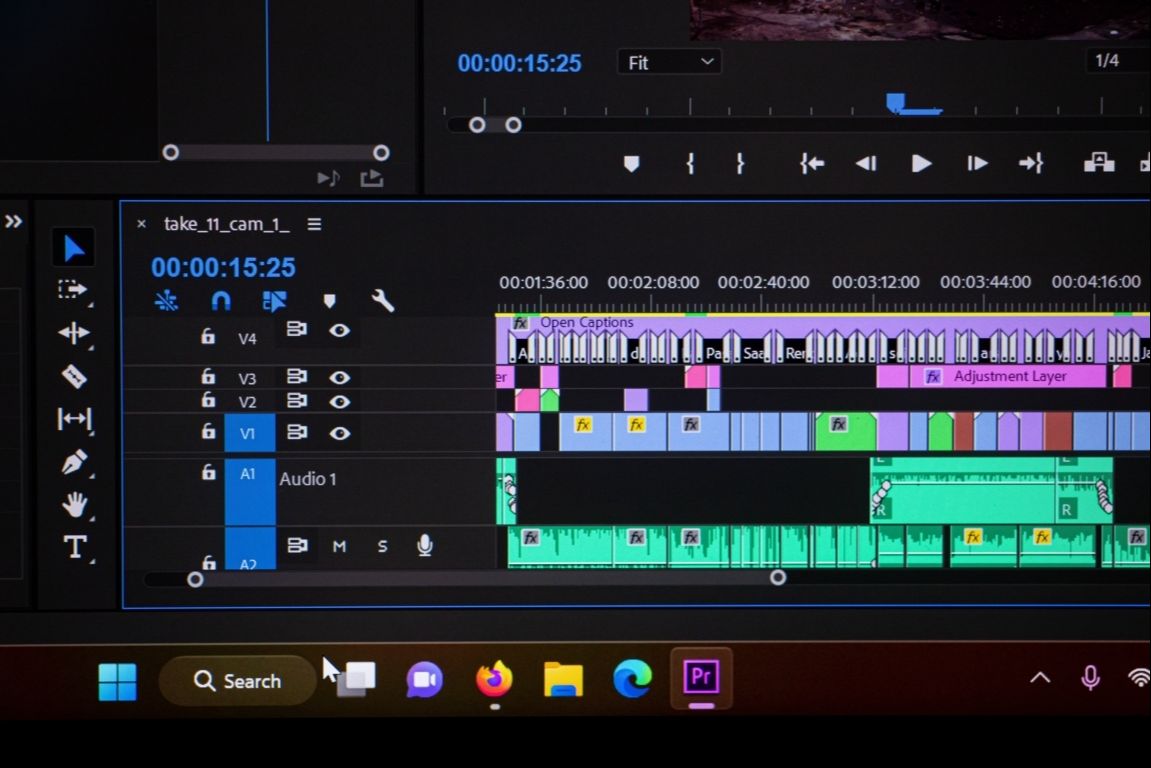
Basic editing techniques
Once you have chosen your editing software, it is time to dive in. Keep in mind that video editing can be time-consuming. Patience is key.
Start by importing all your recorded footage into the program. Review each clip and select the takes you want to use. Then begin trimming and cutting to remove unwanted parts, leaving only your best shots.
Next, import the audio track and align the footage so your movements sync precisely with the music. This can be tricky, so take your time to get it right.
If you notice shaky footage, don’t worry. Most editing programs include stabilization tools that can help smooth out minor camera movements and improve overall quality.
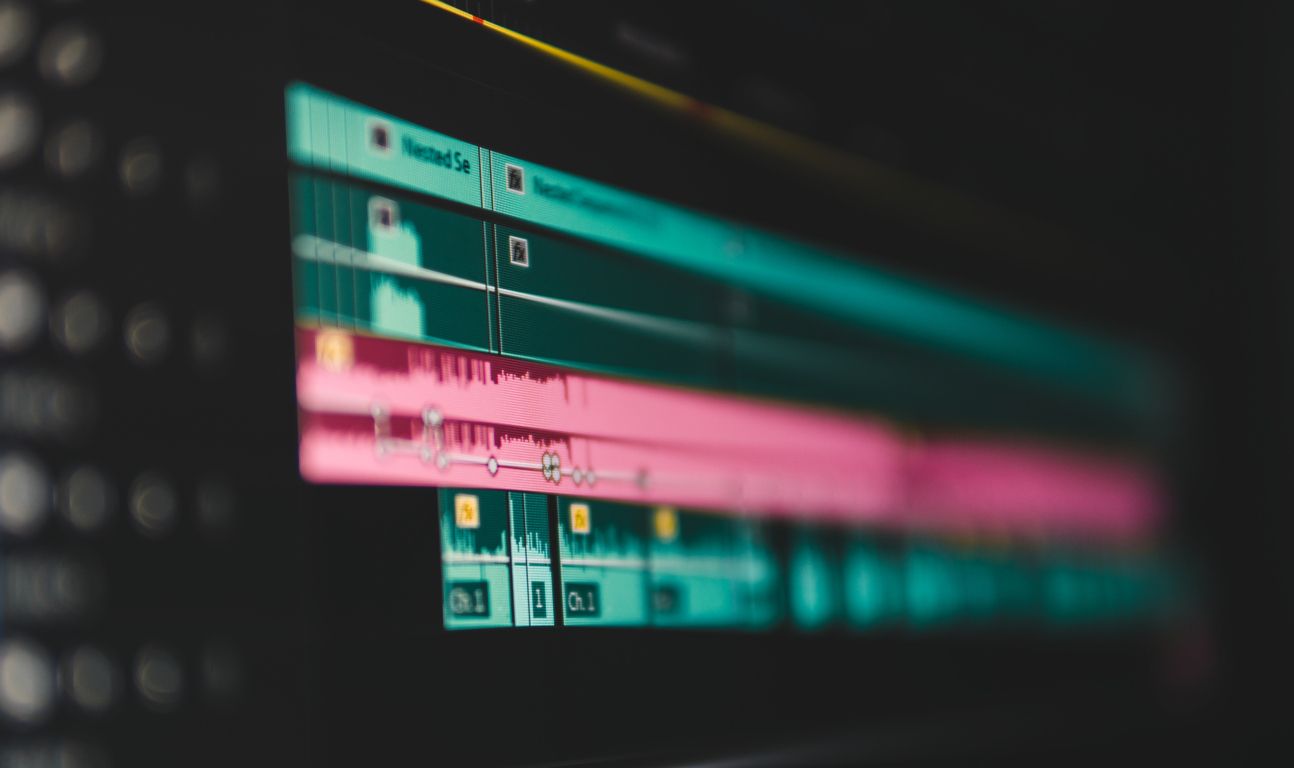
Adding transitions
It’s important to have a clear vision of your desired final result. Are you creating a fun compilation of dance clips, or a choreography that flows seamlessly from multiple angles?
If you are aiming for a smooth, continuous performance, make sure transitions between angles are timed perfectly so the movement looks natural, almost as if filmed in one take.
For a more creative or casual edit, you can incorporate transitions with visual effects, such as fade-ins or fade-outs. Just remember: the main focus should remain on the dancers. Keep transitions simple and clean to maintain a professional look.
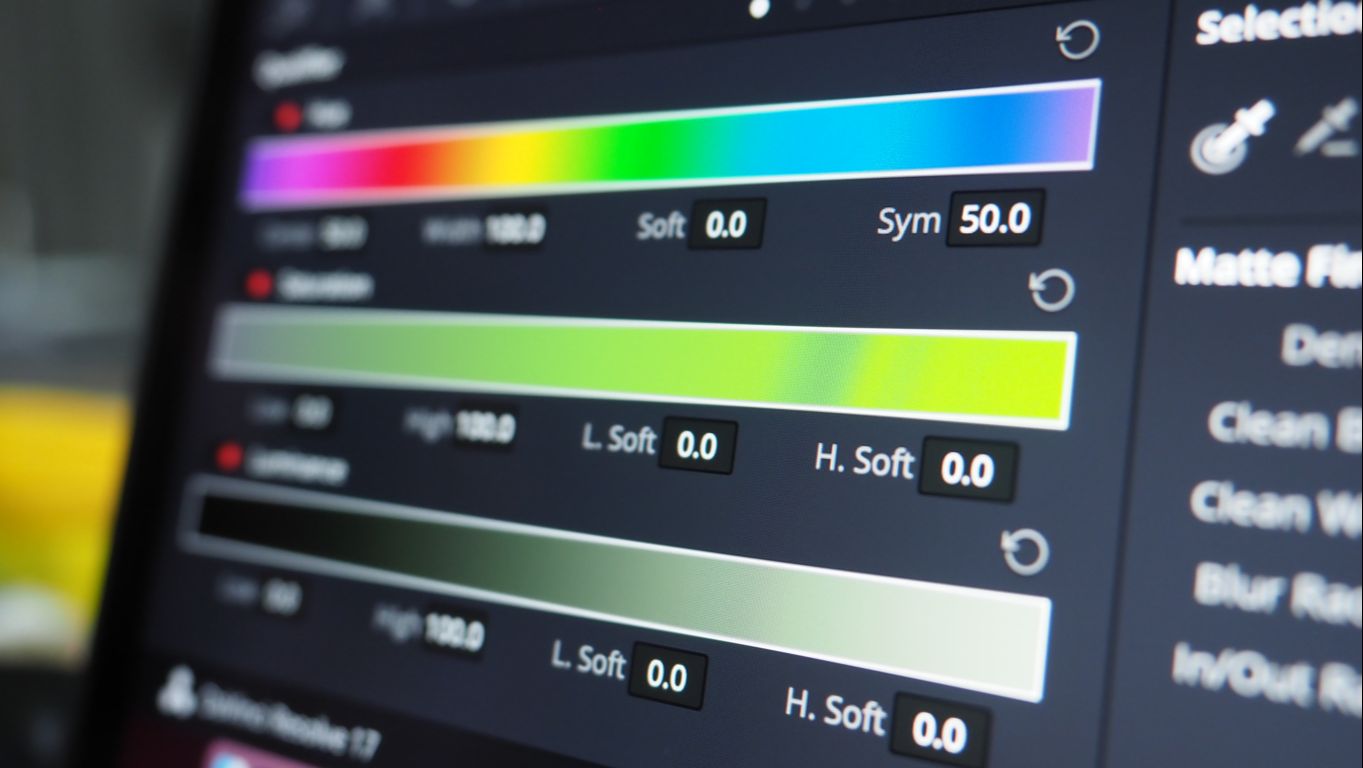
Color correction and filters
Sometimes the colors in your footage may not turn out as expected. You can fix this by adjusting the brightness, contrast, and saturation using the color correction settings in your editing software. You can also tweak the colors to match the mood or style of your video. Use warm tones for a vibrant, energetic feel, or cool tones for a more dramatic, intense look. There are plenty of creative options to explore, so don’t be afraid to experiment!
Text and titles
You can also add text to your video through the editing software’s text settings. Customize the color, size, and font to match your style, then type in the message you want to display. Use text in the intro or outro to promote your name, your crew or your social media profile. If your video includes spoken content, consider adding subtitles to make it more accessible. For a creative touch, you can even overlay a line of lyrics from the song you're using.
Adding special effects
To highlight specific dance moves, you can use special effects like slow motion. This works especially well for dynamic moments, such as breakdance power moves or jumps. To maintain video quality, it is best to film in slow motion using your camera’s settings. Many professional cameras and smartphones offer this feature. Adding slow motion during editing is possible, but it often reduces the quality of the footage.
A more advanced technique is speed ramping, where you creatively shift between different speeds: normal, slow motion, and fast motion, within the same clip. For example, a move might start in slow motion, transition to normal speed, and then accelerate, adding dramatic impact to the performance.
Finalizing and sharing your dance video
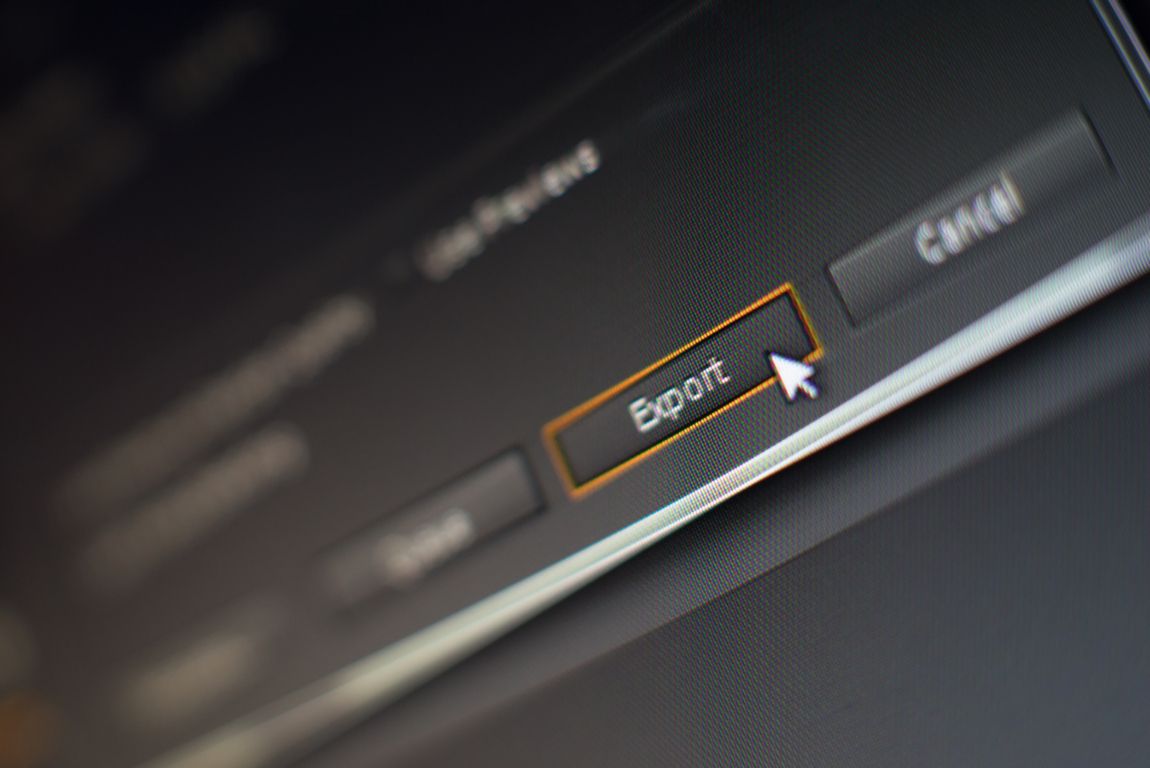
Export settings
Once your edit is complete, make sure to export the video in the correct format for the platform you plan to use. Each social media platform has its own preferred aspect ratio, which most editing programs allow you to select easily:
- TikTok: 9:16
- Instagram Feed: 16:9
- Instagram Story: 9:16
- YouTube: 16:9
Also, be sure to export the video in the highest quality possible, while keeping the file size manageable for upload and sharing.
Uploading and sharing
It's important to decide early on what type of video you want to create and who your target audience is. Different platforms are better suited for different formats:
- Instagram Reels & Posts: Ideal for short videos (10 seconds to 1.5 minutes), such as quick choreographies or spontaneous freestyles.
- IGTV & YouTube: Best for longer content (1 to 20 minutes), like full choreography performances or behind-the-scenes footage.
Choose the platform that aligns with your video’s length and purpose to reach your intended audience more effectively.
Improve your dance skills before filming
If you are looking to improve your dance skills before filming, MyGrooveGuide is the perfect place to sharpen your technique. MyGrooveGuide offers online classes in styles like popping, hip hop, house dance, and breaking, taught by top industry professionals. You can train anytime, anywhere, without the high cost or time commitment of studio classes. Building strong fundamentals will not only boost your confidence, but also make your videos look more polished and professional. Ready to level up before hitting record? Check out our full class overview at MyGrooveGuide.
Structured Hip Hop Classes That Build Confidence.
Boost your rhythm and technique with step-by-step classes from world-class hip hop instructors.
Get started